
In today’s fast-paced world, we’re constantly looking for ways to optimize our time and simplify our lives. One trend that’s getting a lot of attention is homemade yogurt. With its many health benefits and variety of flavors, it’s no wonder people are turning to homemade alternatives. But did you know you can make yogurt in a thermos? In this blog post, we explore the possibility of incubating yogurt in vacuum bottles, delving into the process, advantages and potential disadvantages.
The art of yogurt hatching:
When making yogurt, the hatching process plays a vital role in transforming the milk into a thick, creamy consistency. Traditional hatching methods usually involve using an electric yogurt maker or keeping them at a constant temperature in an oven or warm place. However, using a thermos as an incubator offers an innovative alternative that promises convenience and portability.
How it works:
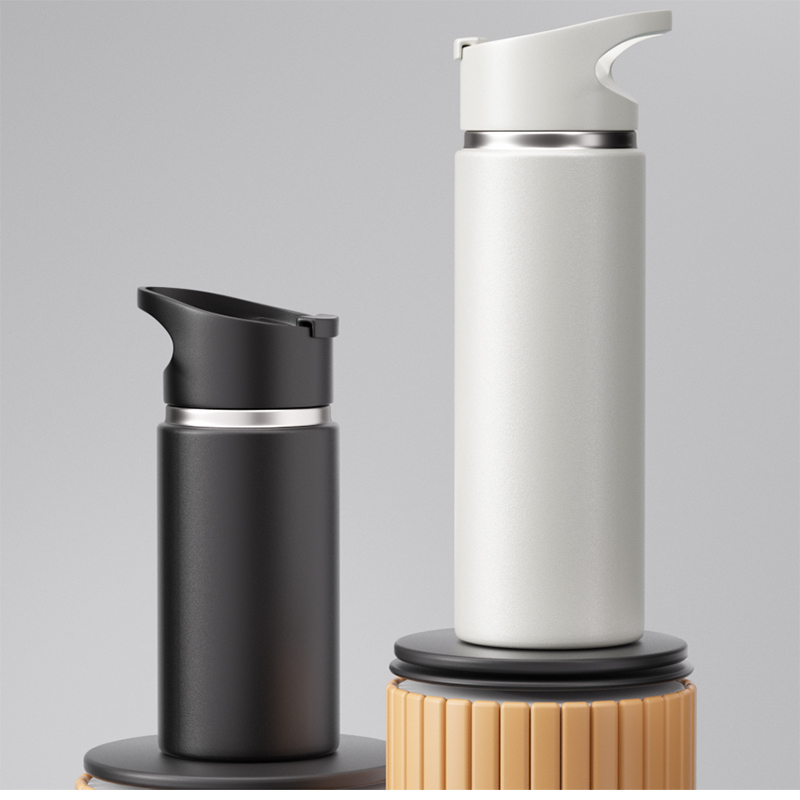
Thermos bottles, also known as vacuum flasks or thermoses, are designed to maintain the temperature of their contents, whether hot or cold. Due to its insulating properties, it can keep the temperature stable for a long time. Using this concept, we can create an environment that promotes the growth and incubation of yogurt cultures inside the vacuum flask.
process:
To incubate yogurt in a vacuum bottle, you can follow this simple process:
1. First heat the milk to the desired temperature, usually around 180°F (82°C), to kill any unwanted bacteria.
2. Allow the milk to cool to approximately 110°F (43°C) before adding the yogurt starter. This temperature range is ideal for growing yogurt cultures.
3. Pour the milk mixture into a sterilized thermos, making sure it is no more than three-quarters full.
4. Close the vacuum bottle firmly to prevent any heat loss and maintain the desired temperature.
5. Place the flask in a warm place away from any drafts or temperature fluctuations.
6. Let the yogurt incubate for a minimum of 6 hours, or up to 12 hours for a richer flavor.
7. After the incubation period is over, refrigerate the yoghurt to stop the fermentation process and achieve the desired consistency.
8. Enjoy homemade vacuum bottled yogurt!
Benefits and Dos and Don’ts of Yogurt Hatching:
1. Convenience: The portability of the thermos allows you to incubate yogurt anywhere, without the need for electrical outlets or additional equipment.
2. Temperature Stability: The insulating properties of the thermos help maintain a constant temperature to ensure a successful incubation process.
3. Eco-friendly: Compared with traditional incubators, using a thermos can minimize energy consumption, thus contributing to a sustainable lifestyle.
4. Quantities are limited: The volume of the thermos may limit how much you can make in a batch of yogurt. However, this may be advantageous if you prefer smaller portions or try different flavours.
Incubating yogurt in a vacuum bottle is an exciting and convenient alternative to traditional methods. With its temperature stability and portability, the thermos can be an invaluable tool on your homemade yogurt journey. So go ahead, give it a try and discover the magic of hatching your own yogurt in a compact and efficient way!
Post time: Jul-21-2023