
A thermos, also known as a thermos, is an iconic container used to store and maintain the temperature of hot and cold beverages. These versatile and portable containers have become indispensable for those who like to drink their favorite beverages on the go. However, if you are using a thermos for the first time, you may find the process of using a thermos a little daunting. don’t worry! In this guide, we’ll give you step-by-step instructions on how to use your thermos for the first time, ensuring you can enjoy your drink fully at the temperature you want no matter where you are.
Step 1: Choose the Right Thermos
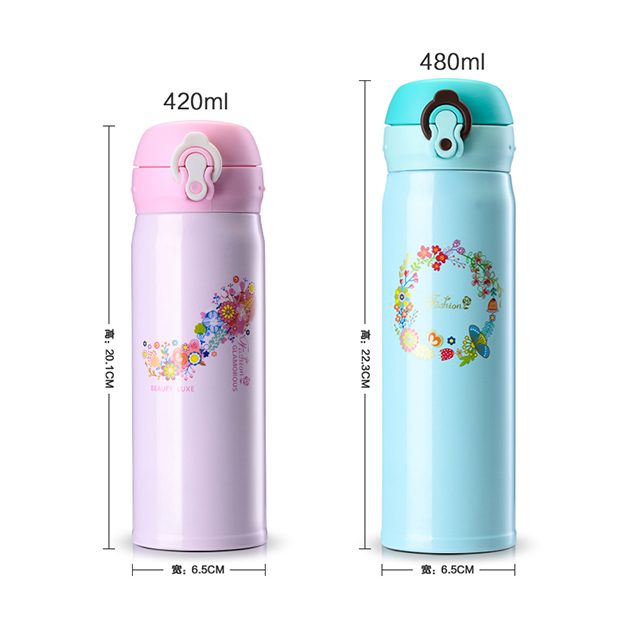
Before delving into the process, choosing the right thermos is crucial. Look for a high-quality flask made of stainless steel, as it promises better insulation. Make sure the flask has a tight sealing mechanism to prevent any leaks or spills during shipping. Consider its size, as larger flasks may be heavier to carry, and smaller flasks may not hold enough liquid for your needs.
Step 2: Prepare the Flask
Start by cleaning the vacuum bottle thoroughly. Rinse with warm soapy water, then rinse again to remove soap traces. Dry with a clean towel, making sure no moisture remains in the flask. This step is critical to prevent any bad odors or contamination in the beverage.
Step 3: Preheat or Precool
Depending on your desired beverage temperature, you may need to preheat or precool your thermos. If you want to keep your drink hot, fill the flask with boiling water and let it sit for a few minutes to warm the inner walls. On the other hand, if you plan to refrigerate your drink, place the flask in the refrigerator to chill for a similar amount of time. Remember to discard the contents of the flask before pouring your desired beverage.
Step Four: Fill the Thermos
Once your flask is fully prepped, it’s time to fill it with your favorite beverage. Make sure the beverage has reached the desired temperature before pouring it into the flask. Avoid filling the flask to full capacity as leaving some air space will help maintain the temperature better. Also, be careful not to exceed the stated maximum capacity of the flask to prevent spillage.
Step 5: Seal and Insulate
Once the flask is filled, it is critical to seal it tightly to ensure maximum thermal insulation. Tighten the cap or cover tightly, making sure there are no gaps or looseness. For added insulation, you can wrap your thermos with a cloth or towel. Remember that the longer the flask is open, the more heat or cold it will lose, so try to minimize the time between pouring your drink and sealing the flask.
Anyway:
Congratulations! You have successfully learned how to use a thermos for the first time. By following these simple steps, you can now enjoy your favorite beverage, hot or cold, at the desired temperature wherever you go. Just remember to choose a reliable flask, prepare it properly, pour your desired drink in, and seal it. With an insulated bottle, you can now start your adventures without compromising the quality of your drinks. Cheers to convenience and satisfaction, all thanks to your trusty thermos!
Post time: Jun-27-2023